
Nothing ruins a quiet drive like a constant rattle coming from the dashboard. It starts small, maybe just on rough roads or when the bass hits, then becomes impossible to ignore. Dashboard rattles are one of the most common complaints car owners have, and they almost always come from something simple that has worked loose over time. Heat, vibration, and age make plastic parts expand and contract differently, clips weaken, and screws back out. The good news is that most of these noises are easy to track down and fix yourself without any special tools. From talking to mechanics, reading through owner forums, and looking at common fixes for popular cars in places like Nigeria, here is how to find the source and stop the noise for good.
Why Dashboard Rattles Happen
Dashboards are built from multiple layers: the main plastic panel, underlying metal brackets, wiring harnesses, vents, glove box, center console trim, and instrument cluster. Each piece is held by plastic clips, screws, or push pins. Over thousands of kilometers, those fasteners loosen. Sunlight through the windshield heats the dash to 60°C or more, then cools it at night, causing expansion and contraction that stresses the clips. Road vibrations shake everything loose. Add cheap plastic that becomes brittle with age, and you have the perfect recipe for noise. The rattle usually comes from one of three places: loose trim panels rubbing together, a clip that has popped out of its socket, or something small like a screw or coin trapped behind the dash.
Step 1: Isolate the Noise While Driving
Before you start taking things apart, figure out where the sound is coming from. Play some music with bass or drive over a bumpy road and listen carefully. Is it coming from the center, the driver side, passenger side, or near the windshield? Does it change when you press on different parts of the dash? Does it stop when you turn the steering wheel or press the clutch? These clues narrow it down fast. Many owners find the noise only happens above a certain speed or on certain road surfaces. Make a mental note or record a short video with your phone so you can replay it later.
Step 2: Check the Obvious Spots First
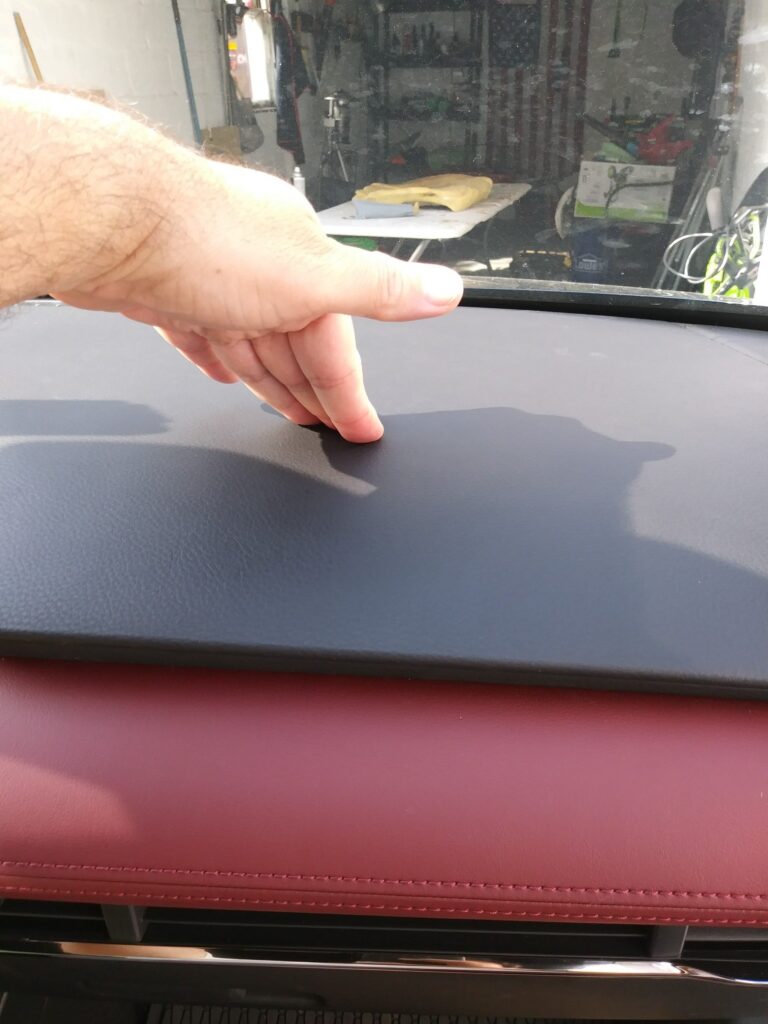
Most rattles come from the easiest places to reach. Start with the center console and glove box. Open the glove box and press on the hinges and latch while driving (safely, with someone else at the wheel if possible). If the noise stops, the latch or hinge needs tightening or a piece of felt tape to cushion it. Next, push on the center vents and the trim around the radio or climate controls. Plastic trim pieces often clip in and pop loose over time. A small piece of foam weatherstripping or double-sided tape behind the panel can stop the vibration. The A-pillar trim (the plastic from windshield to door) is another common culprit—press it gently while driving to see if the rattle changes.
Step 3: Inspect the Instrument Cluster Area
The cluster bezel and the panel around the speedometer often rattle because the screws behind it work loose. On many cars, you can reach these screws by gently prying the bezel off (use a plastic trim tool or wrapped screwdriver to avoid scratches). Tighten any visible screws or add felt tape where the bezel meets the dash. If the cluster itself rattles, the mounting screws at the back might be loose—access usually requires removing the bezel and sometimes the steering column cover. This fix alone solves the problem for a lot of owners who thought it was something deeper.
Step 4: Look Under the Dash and Behind Panels
Get on your back with a flashlight and check the lower dash panels, knee bolster, and fuse box area. Loose wiring harnesses, aftermarket accessories, or even a loose OBD2 scanner cable can rattle against metal brackets. Zip-tie anything loose and add foam padding where wires touch plastic. The heater box and blower motor housing can also vibrate if the mounting clips are broken—tighten or replace them. On some models, the passenger airbag bracket or glove box damper rod can come loose; a quick tighten or duct tape wrap fixes it.
Step 5: Final Fixes for Stubborn Rattles
If the noise is still there after checking the obvious spots, use a mechanic’s stethoscope (or a long screwdriver held to your ear) to pinpoint the exact source while someone drives over bumps. Once located, apply felt tape, foam strips, or rubber grommets to cushion contact points. For plastic-on-plastic rubbing, a thin layer of silicone grease or rubber cement can quiet it without permanent changes. If a clip is broken, replace it. most are cheap push pins available at auto parts shops. In extreme cases where the entire dash panel vibrates, adding extra screws or adhesive-backed foam under the panel can dampen it.
Prevention Tips to Stop Rattles Coming Back
Once fixed, prevent new ones by parking in shade, when possible, to reduce heat cycles. Avoid slamming doors or dropping heavy items on the passenger floor, as that jar clips loose. Use sunshades to keep the dash cooler. Every few months, go over the interior and press on trim pieces to catch loose spots early. Regular cleaning also helps, dust and grit act like sandpaper and make small movements louder.
Dashboard rattles are annoying but rarely serious. Most are fixed with a few minutes of inspection and a couple of simple materials. The next time you hear that buzz or knock, start pressing and listening, you will likely find the culprit in under half an hour and enjoy a quieter ride from then on.